Basics
In the previous post we talked about quite a new system of Action tasks, so suggest to read basics and why it may be useful for you.
In this post, let’s look on how to use them even if you are not Android developer. Today with the help of the Tasker application.
How to: Tasker
1. Preparation
- install Locus Map (you may use Locus Classic as well)
- install Tasker application
- install Locus Map Tasker Plugin as an optional step for much easier setup of the task (method 3b)
- validate both apps works correctly and start Tasker
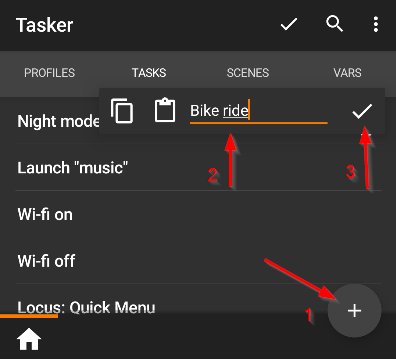
2. Create a Tasker task
- open
Tasker> tabTASKS - FAB (floating action button)
+button > name your new task. I createdStart bike ride>OK - we are in our new task
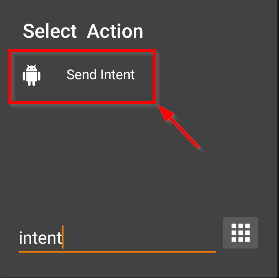
3a. Define Locus action (the hard way)
+to add new action, filterintentand selectSend intent
-
now we need to specify parameters for new action. Following fields have to be filled:
- Action:
com.asamm.locus.ACTION_TASK - Extra:
tasks: { preset: { action: "start", name: "Bike" }, track_record: { action: "start", name: "Biking" } } - Package:
menion.android.locus(ormenion.android.locus.profor Locus Classic)
- Action:
3b. Define Locus action (the easy way)
This step require installed Locus Map Tasker Plugin.
+to add new action > Plugin > Locus Map Addon Tasker Plugin > Execute Action Task- in Configuration section tap on the pencil on the right side
Now you see all supported actions you may define. Let’s set the same system as for the hard way before.
- check
Preset apply> insertBike - check
Track record>startand insertBiking - confirm by
OK
Addon completely generates complicated JSON text we had to define before, nice right?
4. Usage
Now it is completely on you, how you execute the defined task.